Warning: This post is jam packed with fun birthday ideas, as well as photos. I beg for forgiveness in advance, but I promise you, you're sure to find an idea or two!
I've already shared with you two things I did for Little Peanut's birthday: the
banner and the
party hat makeover. I did a few other things too, like:
I made this garland and hung it in her doorway after she went to bed last night.
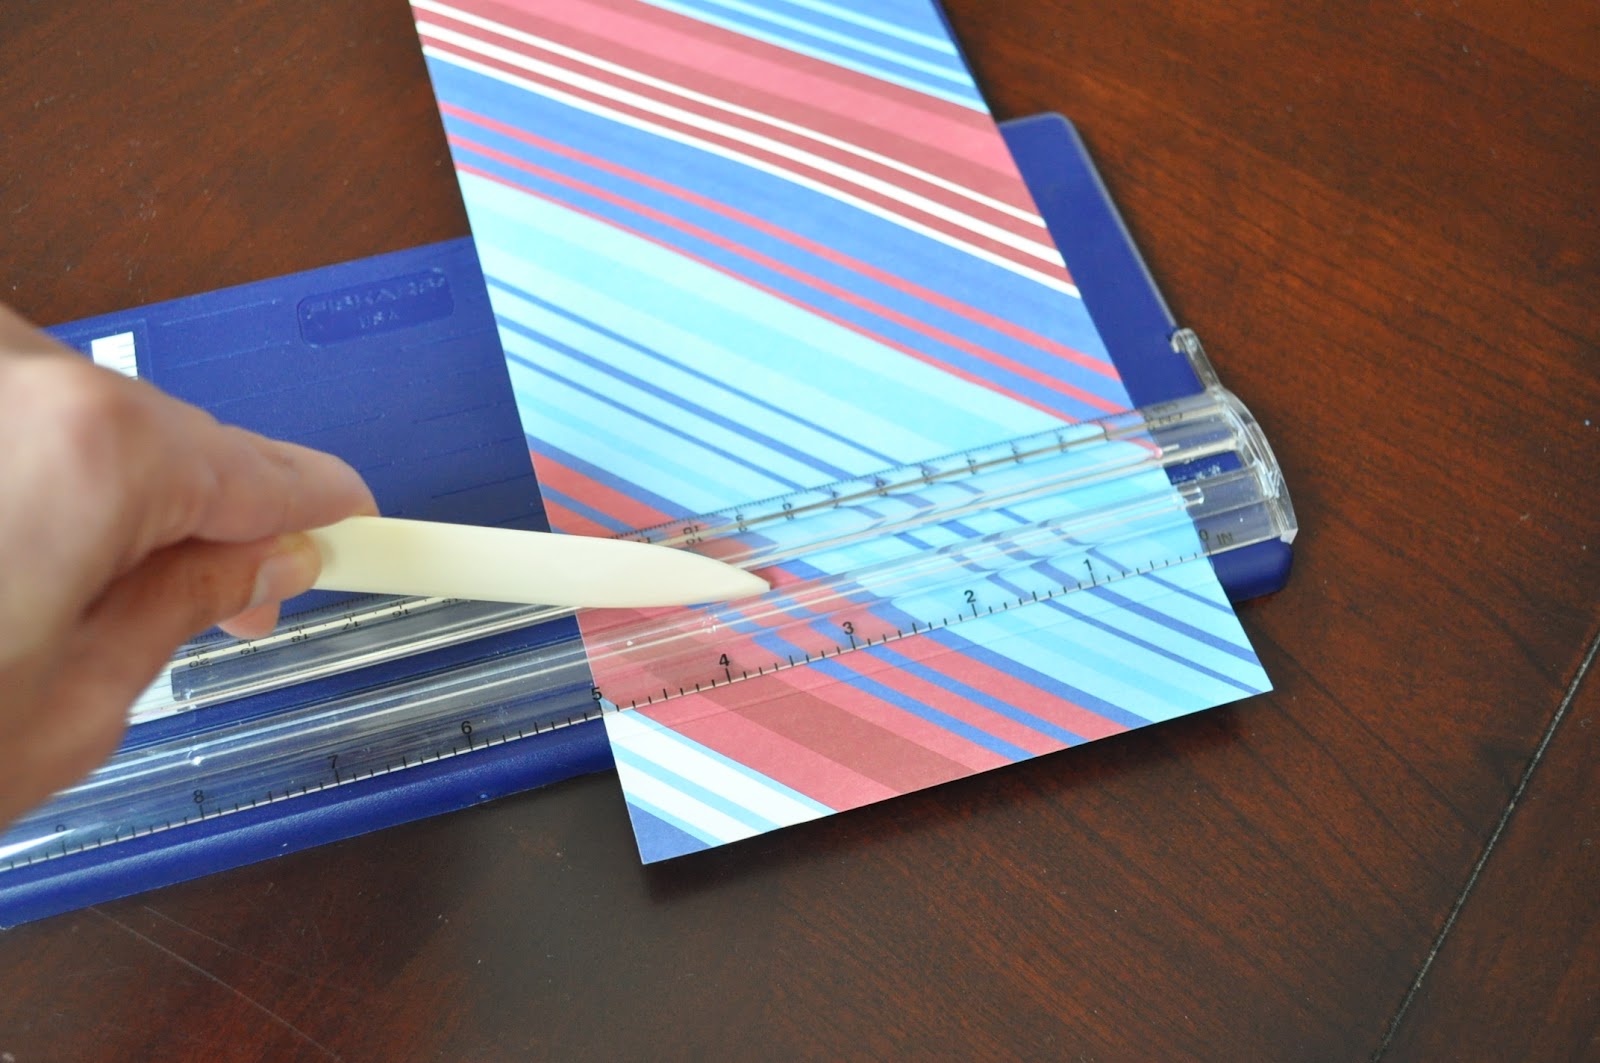
It was very easy to make. I used my 1" and 2" circle punches to cut out lots and lots of circles from coordinating paper. You could use any size punch, of course. Once I had an ample amount of circles, I sewed them together!
Simply sew one circle after another until you have a long "string" of circles. There was no rhyme or reason as to the order of circles that I used. I literally just grabbed one and fed it through the machine. I made sure the papers all coordinated before I began so I wasn't worried about which patterns were next to each other. I also wasn't too concerned if two or more of the same sized circles were next to each other. I wanted the finished product to be somewhat eclectic, not contrived.
When I removed the garland from the sewing machine I made sure to pull out a generous amount of thread so that I could use it as my anchor when taping it to the doorframe.
That leads me to the next step, once you have made your complete set of garland, simply tape it to the top of a doorframe. I used good ol' Scotch tape and it worked just fine.
I also blew up a bunch of balloons and threw them on Little Peanut's floor. It was a fun surprise this morning!
Downstairs I made a balloon doorway. I simply blew up some balloons, tied some thin ribbon to each and hung them from the doorway. I used painter's tape and secured them to the backside of the doorway so you don't see the "mechanics" from the front. When Little Peanut saw this, she smiled and said, "Car wash!" Ha!!
I made the table look pretty, sort of.
I placed a small pile (3) of presents on the table too and when Little Peanut saw them this morning, she opened them. I wasn't necessarily going to share this, but Cari said that she was curious what was in the packages (I texted a photo last night). Plus, she wondered what one buys a three year old for a birthday gift. So here you go:
We also took her to Build a Bear last week so she could get the "blue bear" she's been obsessing over for the past 4 weeks. A flyer came in the mail a while back and she set her sights on that thing. Every day she informed us that she wanted that blue bear. Well, she got it and she loves it! We will also be taking her to the local aquarium over the weekend. Presents and experiences? Wow! We may not do parties yet, but we certainly do celebrate!
Lastly, I made some cupcakes with pink frosting, just like she asked. Sorry, I can't divulge the recipe. It's top secret information but I will tell you, they are the yummiest things you ever did taste!